how to fix low voltage output generator
Generators are vital equipment for powering off-grid areas and supplying backup power during blackouts. They convert fuel into electricity to run lights, appliances, and electronics when grid power is unavailable.
When a generator produces low voltage, it can disrupt operations, damage equipment, and reduce efficiency. Low voltage may cause flickering lights, malfunctioning appliances, or tripped breakers, making it essential for a generator to deliver the correct voltage.
Whether using a portable generator at home or operating a large industrial unit, understanding the causes of low voltage and how to fix them is crucial. Issues such as worn components or engine speed problems should be identified quickly to restore normal operation and prevent long-term damage. In this article, PowerStar, a professional generator manufacturer in China, explains how to find and fix the most common causes of low voltage through simple checks and step-by-step testing to ensure safe and reliable operation.
Understanding generator voltage output
The primary function of a generator is to produce electricity at a consistent voltage level. When the output drops below its intended range, it can cause performance issues or equipment failure. Most portable and home standby generators produce standard outputs of 120V or 240V, while industrial three-phase models typically range from 208V to 480V or higher.
A generator produces electricity using several key components. The alternator converts engine power into electrical energy, while the Automatic Voltage Regulator (AVR) keeps the voltage steady to ensure connected devices receive the correct power. The excitation system provides the initial energy required to start electricity production.
Generators convert mechanical energy into electrical energy through electromagnetic induction. This process occurs when a rotating magnetic field (rotor) moves inside stationary wire windings (stator), producing alternating current (AC) voltage.
Voltage output is directly affected by engine speed (RPM). If the engine slows down, the magnetic field rotates less frequently, resulting in lower voltage. Similarly, damaged internal components such as brushes or windings can disrupt the flow of electricity and result in reduced output. Understanding how voltage is produced and controlled makes it easier to identify voltage drops and troubleshoot the generator safely.
Symptoms of low voltage output
Low voltage output from a generator often appears as electrical faults or poor equipment performance. Recognizing these early warning signs helps prevent further damage and allows faster troubleshooting.
Dimmed or flickering lights
Dim or flickering lights are among the earliest and most visible signs of voltage problems. When a generator does not provide stable voltage, lighting systems become unstable, causing noticeable flicker or reduced brightness. This is especially apparent with LED and fluorescent bulbs, which are sensitive to voltage changes.
Slow or poor motor performance
Electric motors require stable voltage to operate correctly. When voltage drops, motors may start slowly, run at reduced speed, or fail to start. Tools such as drills, grinders, or water pumps may perform poorly, overheat, stop during operation, or produce unusual noises due to insufficient power for proper torque and rotation.
Tripped circuit breakers or fuses
Voltage irregularities can overload circuits and cause breakers to trip or fuses to blow. Low voltage may lead appliances to draw more current to compensate, triggering safety devices designed to prevent fire hazards or equipment damage. Frequent tripping during generator use is a strong indicator of voltage instability.
Appliances shutting down unexpectedly
Sensitive electronics often shut down or restart when power becomes unstable. Devices such as computers, TVs, microwaves, and modern appliances may activate built-in protection circuits if voltage drops too low. Flickering displays, resetting clocks, or data loss can occur if low voltage continues.
Unusual noises from electrical appliances
Buzzing, humming, or clicking sounds from appliances can signal incorrect voltage. These noises, commonly heard from transformers, ballasts, or chargers, occur when internal components are strained under low voltage, increasing wear and the risk of permanent failure.
Common causes of low voltage output
Several internal and external factors can cause a generator to produce less voltage than expected. Identifying the root cause is essential to apply the correct solution and prevent long-term damage.
Worn or damaged brushes and slip rings
Carbon brushes transfer electrical current from the rotor to the stator in many generator models. Over time, brushes can wear out, crack, or lose spring tension, leading to poor contact with the slip rings. This weak contact reduces the magnetic field and lowers voltage output. Brushes that are short, damaged, or covered in carbon dust should be replaced.
Faulty automatic voltage regulator (AVR)
The AVR is responsible for stabilizing generator voltage. If it fails, the generator may experience voltage drops, fluctuations, or a complete loss of output. Common signs include erratic voltage behavior or sudden power loss. Replacing a damaged AVR is often necessary.
Failing capacitor
Capacitor-based generators rely on capacitors to help maintain voltage and assist starting. A weak or failing capacitor cannot store or release sufficient electrical charge, causing poor voltage regulation, delayed starting, reduced output, or humming noises. Low capacitance readings indicate replacement is required.
Low engine speed (RPM)
Generator voltage output is directly linked to engine speed. If the engine does not reach its required RPM—typically around 3600 for a 60 Hz generator—voltage output will drop. Issues such as dirty air filters, carburetor problems, worn spark plugs, or incorrect throttle settings can reduce engine speed. Restoring proper RPM usually returns voltage to normal.
Damaged rotor or stator windings
Windings generate the magnetic field needed to produce electricity. Short circuits, open coils, or burned insulation can significantly reduce voltage output. These issues often require professional testing and repair, such as rewinding or replacing components. Burning smells or discoloration are common warning signs.
Corroded or dirty slip rings
Slip rings transfer electrical power from the rotating rotor. Dirt, rust, or carbon buildup increases resistance and reduces voltage. Cleaning the slip rings can restore conductivity and improve output.
Overloading or load imbalance
Operating a generator beyond its rated capacity or using unevenly distributed loads can cause voltage drops. Overloading forces the generator to work harder, often leading to overheating and unstable output. Reducing or balancing the load helps restore proper voltage.
Poor electrical connections
Loose, corroded, or broken wires restrict proper electrical flow, leading to reduced voltage output.
Weak or failed excitation current
The excitation system provides the initial energy required to generate voltage. If this current is weak or absent, the generator may not reach full output.
Understanding these causes makes it easier to identify the source of low voltage and apply the correct corrective action.
The diagnostic toolkit
To effectively repair a low-voltage generator, having the right tools makes the job safer and easier. These tools help test, clean, and replace components, ensuring accurate diagnosis and safe repairs.
Digital multimeter
A multimeter is essential for measuring voltage output, continuity, resistance, and capacitance. Use it to check terminal voltage, test capacitors, and verify winding resistance. Models with AC, DC, and capacitance modes are ideal for diagnosing generator issues.
Screwdrivers and wrenches
Basic hand tools are needed to open covers, remove panels, and access internal components. A set of flathead and Phillips screwdrivers, along with metric and standard wrenches, allows safe and easy access to generator parts.
Carbon brush replacement kit
If brushes are worn, a replacement kit containing new brushes, springs, and holders allows proper replacement. Choose a kit compatible with your generator model.
Contact cleaner or electrical spray
Used to remove dirt, corrosion, and carbon buildup from slip rings, terminals, and connectors, improving electrical conductivity and restoring proper voltage.
Spark plug wrench and gap tool
Useful for checking and changing spark plugs if the engine misfires or runs poorly. A gap tool ensures the electrode spacing matches engine requirements.
User manual or service guide
Provides generator-specific information such as voltage ratings, resistance ranges, and component locations, ensuring correct testing and repairs.
Using these tools properly allows accurate diagnosis while keeping you safe.

Step-by-step guide to fixing low voltage output
Once you’ve identified the symptoms and gathered the necessary tools, you can begin troubleshooting your electric generator. Follow these steps carefully to locate and resolve low-voltage issues.
Safety first
Before troubleshooting your generator, safety must come first. Generators involve electricity, moving parts, and hot surfaces, so following safety rules helps prevent accidents and injuries.
Key safety steps:
- Turn off and allow the generator to cool before touching any parts.
- Unplug all connected devices to avoid electrical shocks.
- Disconnect the spark plug wire to prevent accidental engine starts.
- Work in a dry, well-ventilated area to avoid electric shock and harmful fumes.
- Use insulated tools and personal protective equipment (PPE), such as gloves and safety glasses.
Following these simple rules ensures you stay safe while inspecting and repairing your generator.
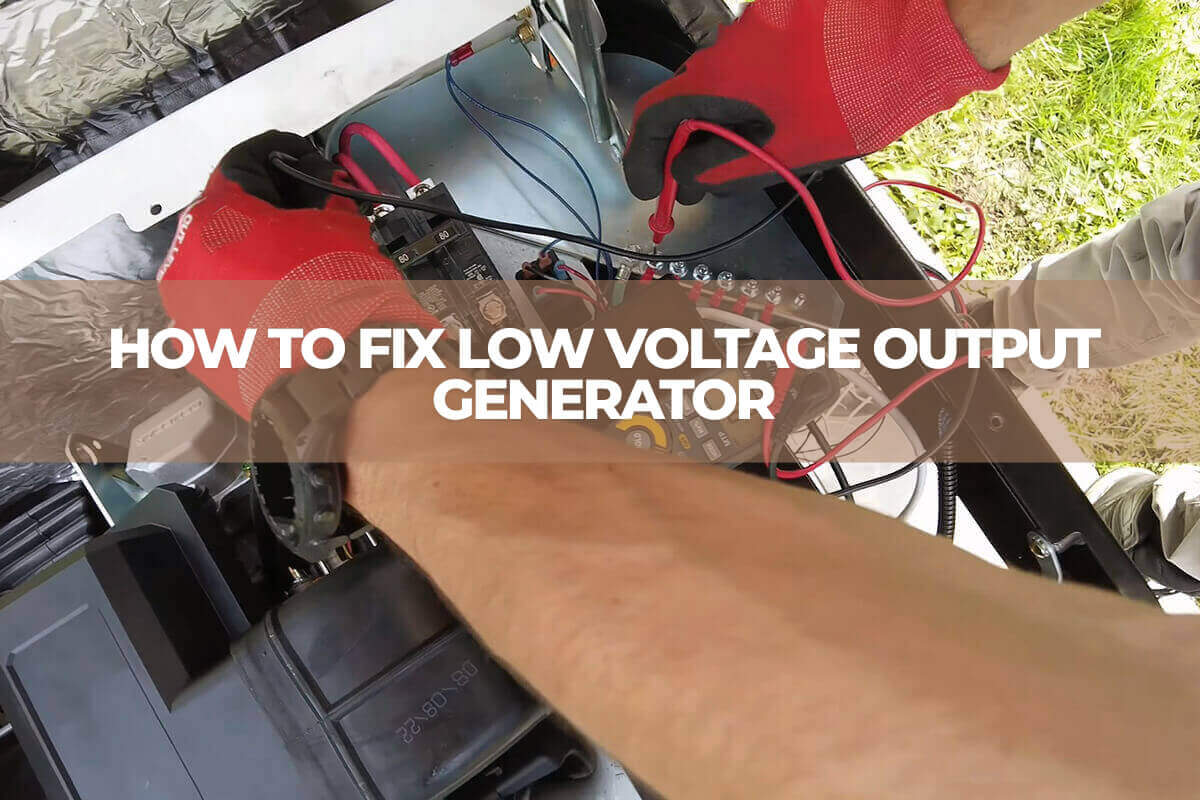
Test the generator’s voltage output
Use a digital multimeter set to AC voltage to measure the generator’s output at the receptacles while running without a load. Compare the reading to the rated voltage (typically 120V or 240V). If the voltage is below the acceptable range, proceed with further checks.
Check and adjust engine speed (RPM)
Low engine speed is a common cause of undervoltage. Inspect the throttle and governor linkage and ensure the engine runs at the manufacturer’s recommended RPM—typically 3600 RPM for a 60Hz generator. Use a tachometer to verify speed. Adjust the governor, clean or replace air filters, and check the carburetor if necessary. A properly tuned engine restores voltage stability.
Inspect and replace worn brushes
For generators with carbon brushes, open the access panel and check the brushes’ length and condition. Replace worn or uneven brushes and clean the slip rings with contact cleaner or fine sandpaper to ensure good electrical contact.
Test and replace the AVR (automatic voltage regulator)
Locate the AVR, usually behind the control panel or near the brush holder. Inspect for signs of burning or damage. Use a multimeter to check resistance or continuity according to the service manual. Replace the AVR with a compatible model if it is faulty, as it controls voltage regulation.
Test and replace the capacitor (if equipped)
For capacitor-based generators, safely discharge the capacitor before testing. Measure capacitance with a multimeter or dedicated tester. Low or unstable readings indicate the capacitor should be replaced with one matching the original voltage and microfarad rating.
Check rotor and stator windings
Use a multimeter to measure the resistance of both rotor and stator windings and compare with manufacturer specifications. Burnt or shorted windings may require professional rewinding or replacement.
Clean electrical connections and slip rings
Inspect all wiring connections, terminals, and slip rings for dirt, corrosion, or oil. Clean with contact cleaner, remove carbon buildup, and tighten loose terminals. Properly cleaned and secured connections improve voltage output.
Load test the generator
After repairs, connect a moderate electrical load (such as lights or power tools) and monitor the voltage. The output should remain stable within the rated range, confirming the issue is resolved.
Additional checks
- Test the excitation circuit and “flash” the field if needed to restore proper voltage.
- Check capacitors for capacitor-regulated generators, replacing any faulty units.
Following these steps helps you safely and effectively troubleshoot and fix low voltage issues in your generator.
Preventing generator low voltage maintenance tips
Fixing low voltage is only part of the solution—preventing it from happening again is equally important. Regular maintenance and proper generator use help avoid voltage drops and keep your generator in optimal condition.
Perform regular maintenance
Routine inspections and service extend the life of your generator and improve performance. Follow the manufacturer’s recommended schedule, including oil changes, air and fuel filter replacement, spark plug checks, and cleaning internal components. Inspect electrical parts such as brushes, slip rings, and connections for wear, corrosion, or looseness. Preventive maintenance reduces the risk of voltage problems caused by component failure.
Run the generator periodically
Start and run the generator under load for 15–30 minutes each month, even if it is not in daily use. This keeps internal parts lubricated, ensures proper engine and alternator function, and allows you to detect issues like unusual noises, unstable output, or delayed start-up before emergencies occur.
Store the generator properly
Keep your generator in a dry, clean, and ventilated location. Protect it from dust, moisture, and temperature extremes. For long-term storage, empty the fuel tank or add stabilizer to prevent carburetor damage. Proper storage prevents corrosion and electrical malfunctions.
Avoid overloading the generator
Exceeding the generator’s rated capacity can cause voltage drops and damage internal components. Calculate your power needs before connecting loads and prioritize essential appliances. Use load management techniques, such as staggering appliance start times, to prevent overloading.
Use high-quality fuel and oil
Fuel quality directly affects engine performance and voltage stability. Use fresh, clean fuel and follow recommended oil change intervals. Avoid contaminated fuel or gasoline mixtures your generator does not support, and check for water in the tank.
Monitor output voltage regularly
Use a multimeter or voltage monitoring meter to check the generator’s output periodically. Early detection of voltage drops helps prevent small issues from becoming serious problems, especially when powering sensitive electronics or critical systems.
Following these preventive steps will help your generator stay in top condition and provide stable voltage when you need it most.
When to call a professional
Some low-voltage issues require professional assistance. Contact a qualified technician if you notice:
- Burnt smell or smoke: Indicates serious electrical damage.
- Melted or damaged wires: Unsafe to repair without proper tools and expertise.
- Need for rewinding or major repairs: Stator or rotor winding problems often require specialized equipment.
- Lack of proper tools or confidence: If you are unsure how to fix the issue safely, it’s best to let a professional handle it.
Calling a professional ensures the generator is repaired safely, prevents further damage, and reduces the risk of injury.
Conclusion
Low voltage output from a generator can disrupt operations and damage equipment, but most issues can be prevented and resolved. Understanding common causes—such as worn brushes, faulty AVRs, low engine speed, or capacitor issues—and following proper troubleshooting steps can restore your generator’s performance.
As a professional generator manufacturer in China, PowerStar reminds you to start with simple checks: ensure the engine is running at the correct RPM, inspect the capacitor and AVR, examine brushes and slip rings, and finally check the windings if the problem persists. Always prioritize safety by turning off the generator, unplugging devices, and using proper protective equipment. For complex repairs, such as damaged windings or major electrical faults, call a qualified professional.
Regular maintenance, load management, and proper storage are essential to prevent future voltage problems and ensure reliable power when you need it most.
Keep your generator running safely and efficiently—trust PowerStar for guidance and support in troubleshooting or repairing your generator.


May Ge
Outdoor Machinery Export Manager 6-Yr Exp 🌍 ∣ BSCI, EPA, EURO V, CE ∣ Generator, High-pressure Washer, Water Pump, Engine, Floor Scrubber ∣ 🚀 24/7 Second Reply
TAIZHOU BISON MACHINERY CO.,LTD | Ningbo University of Technology
Our related blog

can you run a portable generator indoors?
Can you run a portable generator indoors? Learn about serious safety hazards and essential precautions every homeowner should know.

how to safely ground your generator
Protect your generator with proper grounding techniques to ensure their safety and optimal performance. This blog explains when and how to ground portable and standby generators safely and securely.

How long can a generator run
Curious how long a generator can run? Discover the factors that influence generator runtime, from fuel type to load capacity, in this comprehensive guide.

how to break in a generator
Breaking in your generator is crucial! Discover the correct method, oil change tips, and safety steps to get your generator running smoothly for years.