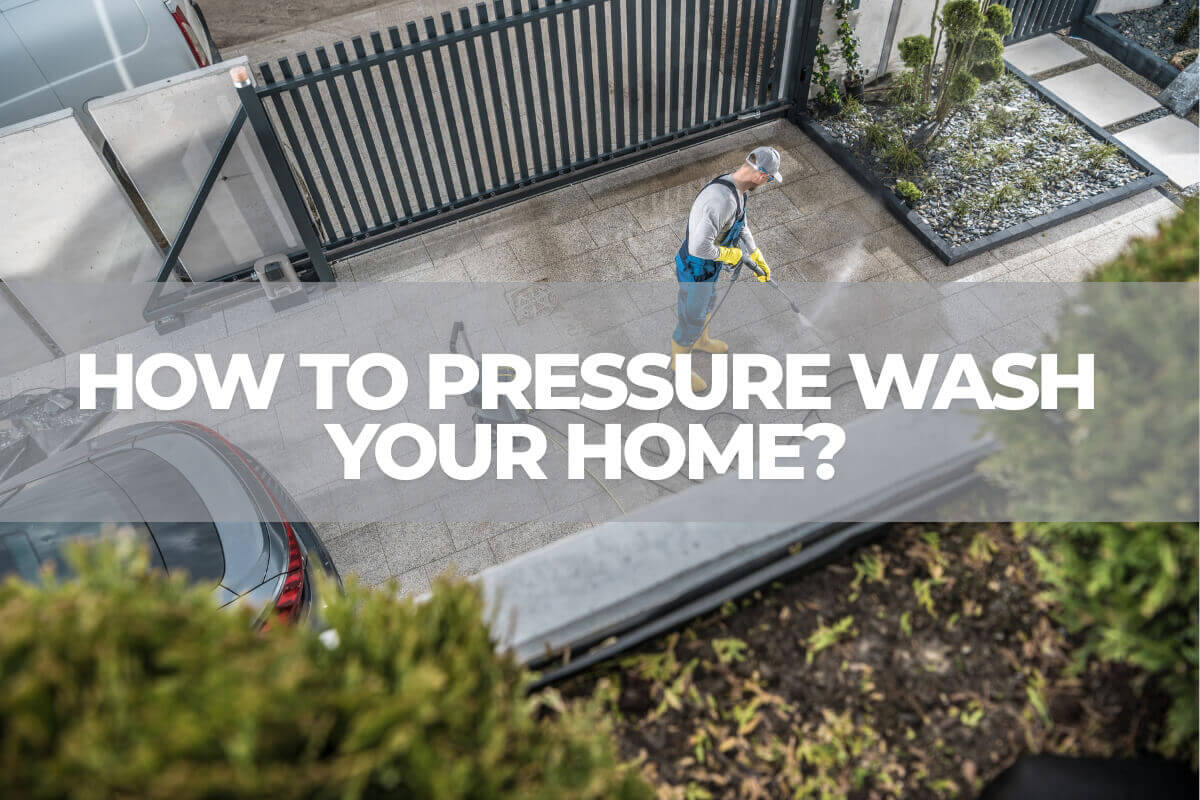
how to pressure wash your home
A clean home exterior not only enhances curb appeal but also prolongs the lifespan of your siding, paint, and other surfaces. One of the most effective ways to remove mold, stains, and dirt from your home is pressure washing. When done correctly, it can make your home look like new.
Pressure washing is a quick method to remove dirt, mold, and mildew from walls, driveways, or patios, instantly boosting your home’s appearance. However, it requires proper preparation and technique to prevent damage to your property.
In this article, MATCHUP will guide you step-by-step on how to safely and effectively pressure wash your home so you can achieve great results with confidence.
Why pressure wash your home
Over time, your home’s exterior is exposed to the elements. Wind, rain, sun, pollution, pollen, mold, and mildew contribute to a steady accumulation of grime. If left untreated, your home can appear unsightly and may suffer long-term damage. Pressure washing offers a powerful solution to maintain and protect your investment.
- Restore curb appeal: One of the most immediate benefits of pressure washing is a dramatic improvement in your home’s appearance. Layers of dirt, algae, and stains can dull siding, porches, or driveways. In just a few hours, a thorough pressure wash can remove years’ worth of grime, leaving your house clean and fresh.
- Prevent damage: Mold, mildew, algae, and lichen can trap moisture against your siding, causing wood rot, premature paint failure, or deterioration of brick and concrete. Pressure washing removes these growths and prevents decay, extending the life of your exterior materials.
- Prepare for painting or staining: If you plan to paint your home or stain your deck or fence, pressure washing is an essential first step. It removes loose paint, dirt, and debris, allowing new coatings to adhere properly and preventing bubbling, peeling, or uneven finishes.
- Improve health and safety: Mold, mildew, and pollen on your home’s exterior can affect indoor air quality if spores enter through windows, vents, or doors. Pressure washing removes these allergens and cleans algae-covered walkways or decks, reducing the risk of slips and falls.
- Increase property value: Keeping your exterior clean and well-maintained can raise property value and attract potential buyers. Pressure washing is an economical way to enhance your home’s appearance before listing it for sale.
- Save time and effort: Pressure washing is far more efficient than scrubbing or using a hose. What might take a weekend manually can often be completed in one to two hours with a pressure washer, delivering fast and effective results.
When is the best time to pressure wash
Timing is important for pressure washing. Choosing the right weather and conditions makes the job easier and ensures safe, effective results.
- Spring and early summer — ideal weather: Spring is often the best time to wash your home. After winter, dirt, salt residue, mold, and grime may accumulate. Pressure washing in spring gives your exterior a fresh start and prepares it for maintenance projects like painting or staining. Early summer is also suitable, as warm weather allows surfaces to dry quickly and there is usually less rain.
- Avoid cold or freezing weather: Do not pressure wash during freezing or near-freezing temperatures. Cold can cause water to freeze on surfaces or inside the washer, damaging siding, hoses, or other components. Detergents also work less effectively in low temperatures.
- Be careful on hot, sunny days: Intense heat or direct sunlight can cause cleaning solutions to dry too quickly, leaving streaks or reducing effectiveness. Wash in the morning, late afternoon, or on cloudy days.
- Check the forecast: Ensure at least 24–48 hours of dry weather after washing, especially before painting or sealing. Washing before rain can wash away cleaners or re-soil freshly cleaned surfaces.
If you plan to clean gutters, resurface a deck, or repaint, schedule pressure washing in advance. This ensures a clean, contamination-free surface ready for treatment.
Safety first
Before pressure washing your home, safety should always come first.
- Wear the right gear to protect yourself from slips, flying debris, and strong water pressure. Use gloves to protect your hands, goggles to shield your eyes, and boots with good grip for stability on wet surfaces.
- Always read the pressure washer manual before use, as every model works differently.
- Never use a ladder while pressure washing. The force of the water can make you lose balance. Instead, use extension wands to reach high areas safely.
- Stay alert around electrical outlets and cords, keeping them dry and away from the spray. Avoid spraying water into electrical boxes, light fixtures, or upward under siding.
- Keep a safe distance from the surfaces you’re cleaning to prevent damage or water bouncing back.
Following these safety steps allows you to clean your home confidently while avoiding common risks.

Step-by-step guide to pressure washing your home
Pressure washing your home is straightforward but requires the right tools, preparation, and technique. When done correctly, it protects your exterior surfaces from long-term damage and enhances your home’s appearance. Follow this step-by-step guide to complete the job safely and effectively.
Step 1: Assemble the necessary equipment and tools
Having the right tools on hand makes the job easier and ensures better results.
Pressure washer types
- Electric pressure washer: Lightweight, quieter, ideal for small to medium jobs like siding, decks, or patios.
- Gas pressure washer: More powerful, suited for larger areas or stubborn stains, but heavier and louder.
Nozzle types and color codes
Choosing the right spray tip is essential to clean effectively without damaging your home.
| Nozzle | Color | Use |
|---|---|---|
| 0° | Red | Very concentrated stream for tough stains on hard surfaces like concrete. Avoid for siding. |
| 15° | Yellow | High-pressure, narrow spray for hard surfaces or stripping paint. |
| 25° | Green | Medium spray for general cleaning of walls, decks, and driveways. |
| 40° | White | Wide spray for delicate surfaces or rinsing soap. |
| Soap nozzle | Black | Low-pressure spray for applying detergent. |
Safe detergents: Use detergents that are safe for home exteriors. Avoid harsh chemicals that may damage paint, siding, or nearby plants. Follow manufacturer instructions for mixing and applying soaps.
Additional tools
- High-pressure hoses to reach different areas
- Soft-bristled brushes for stubborn spots
- Drop cloths or plastic sheeting to protect plants and fixtures
- Extension wands for high walls or gutters
- Surface cleaners for large flat areas like driveways and patios
With the right equipments tools, and safety precautions, you’ll be ready for a smooth and effective pressure washing experience.
Step 2: Prepare the area around your home
Begin by clearing the area. Move outdoor furniture, decorations, and fragile items like potted plants away from the surfaces you’ll be cleaning. Trim back shrubs or vines that block access to walls.
Next, protect your home. Cover electrical outlets, light fixtures, and switches with plastic or waterproof tape. Seal windows and doors if needed, and shield nearby plants with tarps or plastic covers. Turn off exterior power sources, including air conditioning units, to reduce electrical hazards.
Take a few minutes to assess the surface material. Look for loose paint, cracks, or damaged siding, as pressure washing can worsen these issues. Identify areas with stubborn stains, mildew, or mold, and pre-treat them with a safe cleaner.
Finally, check your equipment. Inspect hoses, nozzles, and connections for leaks or damage before starting.
With proper preparation, you can clean your home effectively while minimizing risks and protecting both your property and surroundings.
Step 3: Connect the water supply and prime the washer
Connect your garden hose to the pressure washer’s water inlet, ensuring the hose is tangle-free and there is sufficient water flow. Check that all fittings are secure and hoses are undamaged.
Turn on the water and squeeze the spray gun trigger to purge air from the system. Start the engine or motor according to the manufacturer’s instructions and let it run for a few minutes before use. For gas-powered models, ensure there is fresh fuel and oil.
Adjust the pressure to a safe level for your home’s surfaces and test a small hidden area first to confirm that the pressure and detergent will not cause damage.
Step 4: Apply detergent
Using detergent helps break down tough stains, grease, mold, and algae more effectively than water alone.
Fill the washer’s detergent tank or connect a siphon hose to an external container. Attach the detergent nozzle and apply the solution from the bottom up to prevent streaks and ensure even coverage.
Let the detergent sit for 5–10 minutes, but do not let it dry on the surface. If necessary, lightly mist it with water to keep it moist.
Step 5: Start pressure washing — top to bottom
Switch to a medium-pressure nozzle, typically a 25° or 40° tip, for rinsing. Start at the top of your siding and work your way down, holding the wand at a 45-degree angle 12–18 inches from the surface.
Move in smooth, overlapping horizontal strokes to avoid streaks or missed spots. Work in manageable sections, such as one wall or one story high at a time, to ensure soap doesn’t dry before rinsing. Keep the nozzle moving to prevent etching or surface damage.
Step 6: Tackle stubborn spots
Areas with mold, mildew, tree sap, or stubborn stains may require multiple passes. Reapply detergent and let it soak if needed. Use a soft brush or scrub pad for gentle scrubbing, especially on wood or painted surfaces. Rinse again with medium pressure. Avoid using narrow nozzles or excessive pressure to prevent damage.
Step 7: Clean and trim windows
After cleaning siding, pay attention to window and door trim. Use a 40° nozzle and stand back to reduce pressure. Never spray directly into window sills, light fixtures, or delicate areas. Rinse from top to bottom, allowing dirt and soap to flow away. Glass may need a separate cleaning to remove water spots or streaks.
Step 8: Final rinse and inspection
Perform a final rinse of all surfaces with the 40° nozzle. Remove protective covers and rinse nearby plants or surfaces that came into contact with detergent. Walk around your home to check for missed spots, damage, or signs of water ingress. Repeat cleaning on small areas if necessary.
Step 9: Clean and store your equipment
Turn off the water supply and pressure washer. Squeeze the trigger to release residual pressure. Disconnect hoses and drain the system. Rinse and store nozzles and attachments, and keep the washer in a dry location, especially if it will not be used for an extended period.
Following these steps with a MATCHUP pressure washer ensures your home gets a deep, even clean while keeping surfaces safe and protected.
Tips for different surfaces
Not all exterior surfaces respond the same to pressure washing. Using incorrect techniques or excessive pressure can cause damage. Here’s how to safely handle common home surfaces.
| Surface | Nozzle | PSI | Key tips |
|---|---|---|---|
| Vinyl siding | 25° or 40° | 1,500–2,000 | Spray with the grain, pointing slightly downward. Use siding-safe detergent. Avoid high pressure or close-in sprays that can warp or crack the vinyl. |
| Wood (siding, decks, fences) | 25° or 40° | 500–1,200 | Test a small area first. Spray in the direction of the wood grain. Use low pressure to prevent gouging. Pre-treat stubborn areas with detergent; consider sanding and sealing afterward. |
| Brick and stone | 15° or 25° | 2,000–3,000 | Keep the nozzle 12–18 inches from the surface. Focus on grout lines where dirt and mold accumulate. Avoid harsh chemicals that can discolor bricks. |
| Stucco | 40° | 1,200–1,500 | Use a wide spray from a distance of 2 feet or more. Rinse gently and avoid overlapping excessively. Pre-treat with a soft brush and detergent instead of increasing pressure. |
| Concrete and driveways | 15° or surface cleaner | 2,500–3,000 | Pre-treat oil stains with a degreaser. Use a surface cleaner for even coverage. Keep the spray moving to avoid etching and protect expansion joints. |
| Windows and glass | 40° | 1,000 or less | Keep distance and use the widest spray pattern. Rinse gently and avoid spraying directly on seals. Dry with a squeegee or soft cloth to prevent streaks. |
| Gutters and roof edges | 25° or 40° | 1,000–1,500 | Use an extension wand or gutter cleaning attachment; never climb a ladder. Avoid spraying under shingles or into vents. Use gentle, low-pressure methods for roofing surfaces. |
| Decks and patios | 25° or 40° | — | Follow the wood or composite grain. Pre-treat moldy areas and rinse thoroughly. Avoid standing water on wood cracks. |
| Fences — wood or vinyl | Medium to low pressure | — | Spray top to bottom. For chain-link, use a wider spray and avoid harsh detergents. |
| Outdoor furniture | 40° | — | Suitable for plastic, metal, or resin at a safe distance. Remove cushions or fabric parts and clean separately with gentle soap and water. |

Following these best practices ensures thorough cleaning while protecting and extending the life of your exterior surfaces.
Common mistakes to avoid
Pressure washing can make your home look amazing, but certain mistakes can cause damage or reduce effectiveness.
- Using too much pressure: High pressure can damage siding, wood, or paint. Start with lower pressure and test a small area first.
- Spraying too close: Holding the nozzle too near the surface may cause dents, scratches, or gouges. Keep a safe distance and move the spray steadily.
- Skipping detergent: Detergent helps loosen tough stains, dirt, or mildew. Skipping it can make cleaning harder and less effective.
- Not rinsing thoroughly: Leftover soap can leave streaks, spots, or residue. Rinse from top to bottom to remove all cleaning solution.
Avoiding these mistakes ensures a safer, cleaner, and longer-lasting result for your home’s exterior.
Should you hire a professional?
Hiring a professional pressure washing service may be safer if your home is multi-story, made of delicate materials, or in poor condition. Professionals possess the necessary equipment and experience to complete the job efficiently and accurately, minimizing the risk of damage.
However, if you are confident in your abilities and can access the right tools, DIY pressure washing is achievable and cost-effective.
Conclusion
Pressure washing is an effective way to refresh your home’s exterior, remove dirt, mold, and mildew, and protect surfaces from long-term damage. With the right tools, proper technique, and careful preparation, you can safely clean siding, decks, driveways, and more. Most homes need pressure washing once a year. Areas with heavy dirt, mold, or pollen buildup may require cleaning every 6–8 months.
By following this guide — preparing your home, using the correct nozzles and detergents, and cleaning surfaces methodically — you can restore your home to its clean, vibrant best. For professional results with less effort, consider exploring MATCHUP’s range of high-quality pressure washers.


May Ge
Outdoor Machinery Export Manager 6-Yr Exp 🌍 ∣ BSCI, EPA, EURO V, CE ∣ Generator, High-pressure Washer, Water Pump, Engine, Floor Scrubber ∣ 🚀 24/7 Second Reply
TAIZHOU BISON MACHINERY CO.,LTD | Ningbo University of Technology
Our related blog

how does a pressure washer work
Have you ever wondered how pressure washers clean so effectively? Learn how they work, why they are so effective, and how they can change how you clean.

electric vs. gas pressure washers
Compare electric and gas pressure washers to determine which one is best suited for your home or commercial cleaning needs. Learn the pros, cons, and uses of each type etc.

why does my pressure washer have low pressure?
our team of experts will walk you through the most common reasons for low pressure on your pressure washer and show you how to get your machine back to peak performance.

how to use a gasoline pressure washer
In this comprehensive guide, MATCHUP will teach you everything you need to know about using a gasoline pressure washer effectively and safely.